Virtkick Docs
Documentation and information to Virtkick your business
With Virtkick you have the ability to add your own custom distribution ISOs to your panel - this guide will walk you through how this is done.
1. Locate the ISO you want to add
First you will need to find an ISO that you would like to add to your Virtkick panel. For the purposes of this documentation, we will be using a Gentoo ISO. You can often find the ISO for a distribution by visiting their website and finding the "Downloads" section. For example, Gentoo's ISOs can be found here.
Once you have found the downloads section, locate the ISO you want to add. We will be adding the "Minimal Installation CD" version of Gentoo (found here). Note the URL to this ISO and the name of the image.
Next, look for "Signatures" or "Checksums" - for Gentoo they have a tab that lists this information. On other distributions may include this as a file on the mirrors directly (for example, take a look at the Ubuntu mirrors, you would want "SHA1SUMS"). Note the checksum for your image, then move on to the next step.
2. Add the ISO to your panel
Now it is time to head over to your Virtkick panel, select the "Admin" view and then click "Distributions" on the left. You will see a screen similar to the one below:
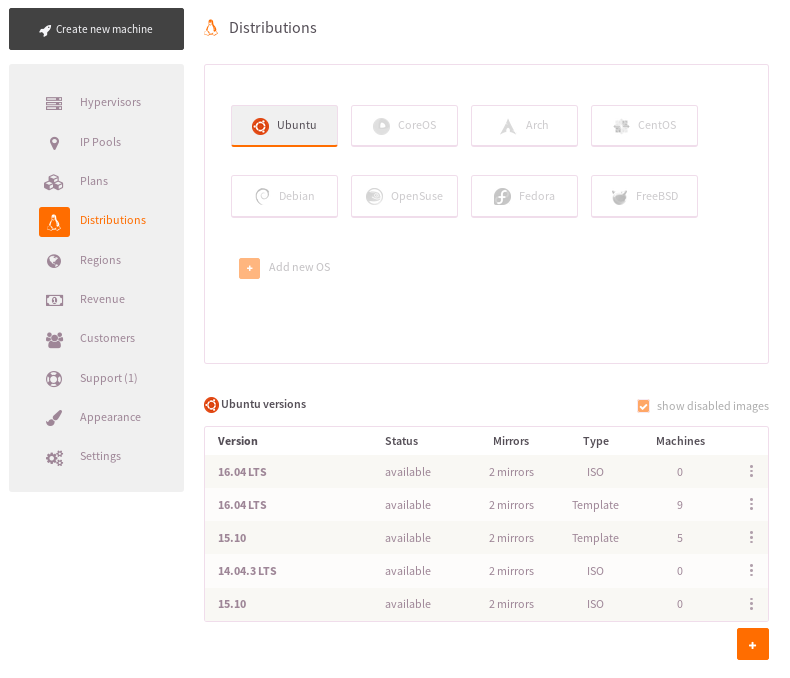
From there, click the "+" button in the bottom right corner, you should see this:
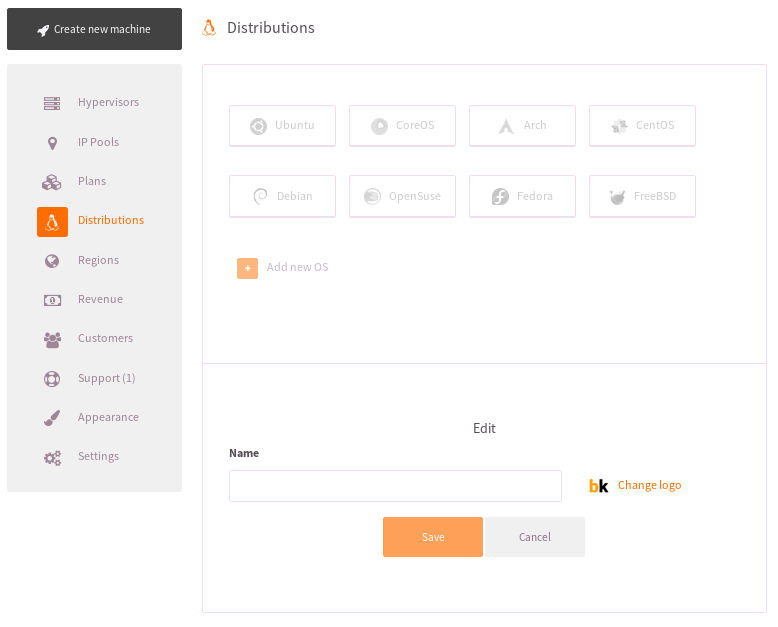
Enter the name of your new distribution, in this case we would enter "Gentoo". If you would like to upload the logo for this new distribution, click "Change logo" and upload the distribution logo. When you are done, click "Save". You will see the new distribution added to the list of distributions. Select the new distribution and click the "+" icon in the bottom right corner again. You will see this new screen:
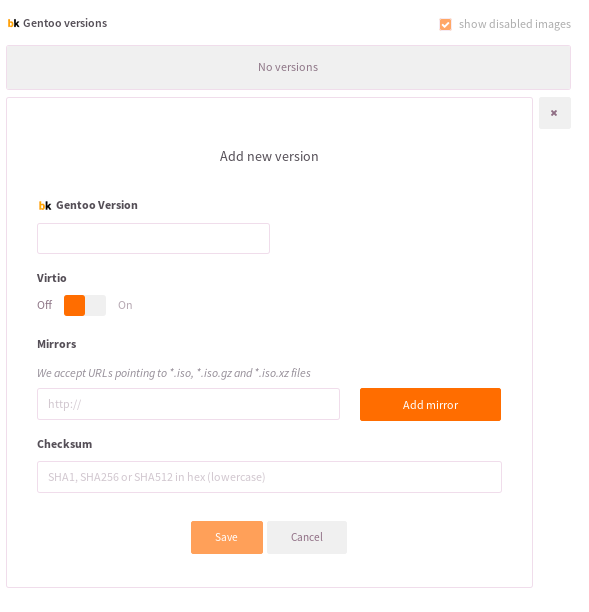
In the "Version" box enter the version of the ISO you want to upload. For example, if this were an Ubuntu 16.04 image, you would enter "16.04" in that box. We generally recommend turning Virtio on if there isn't a reason to disable it (like using Windows). Next, enter the URL for your ISO and then click the "Add Mirror" button next to that box. The new mirror should now be listed below the "Mirrors" heading. Lastly, enter the checksum you collected from the previous step and click "Save".
Your new ISO has been added to your Virtkick panel.
3. Give it a try
The last step is to give the new image a try! Go ahead and create a machine - please note the first create might take a bit long as the image will be downloaded on your hypervisor.
Have any questions, comments, or concerns? Let us know - we are always happy to help!
comments powered by Disqus